The BMW E46 has some problems with the factory chassis. The rear subframe mounts at 6 points through sloppy rubber bushings. Over enough time the floor can crack at these points, so we sell reinforcement kits to repair that, and we are well versed in those repairs.

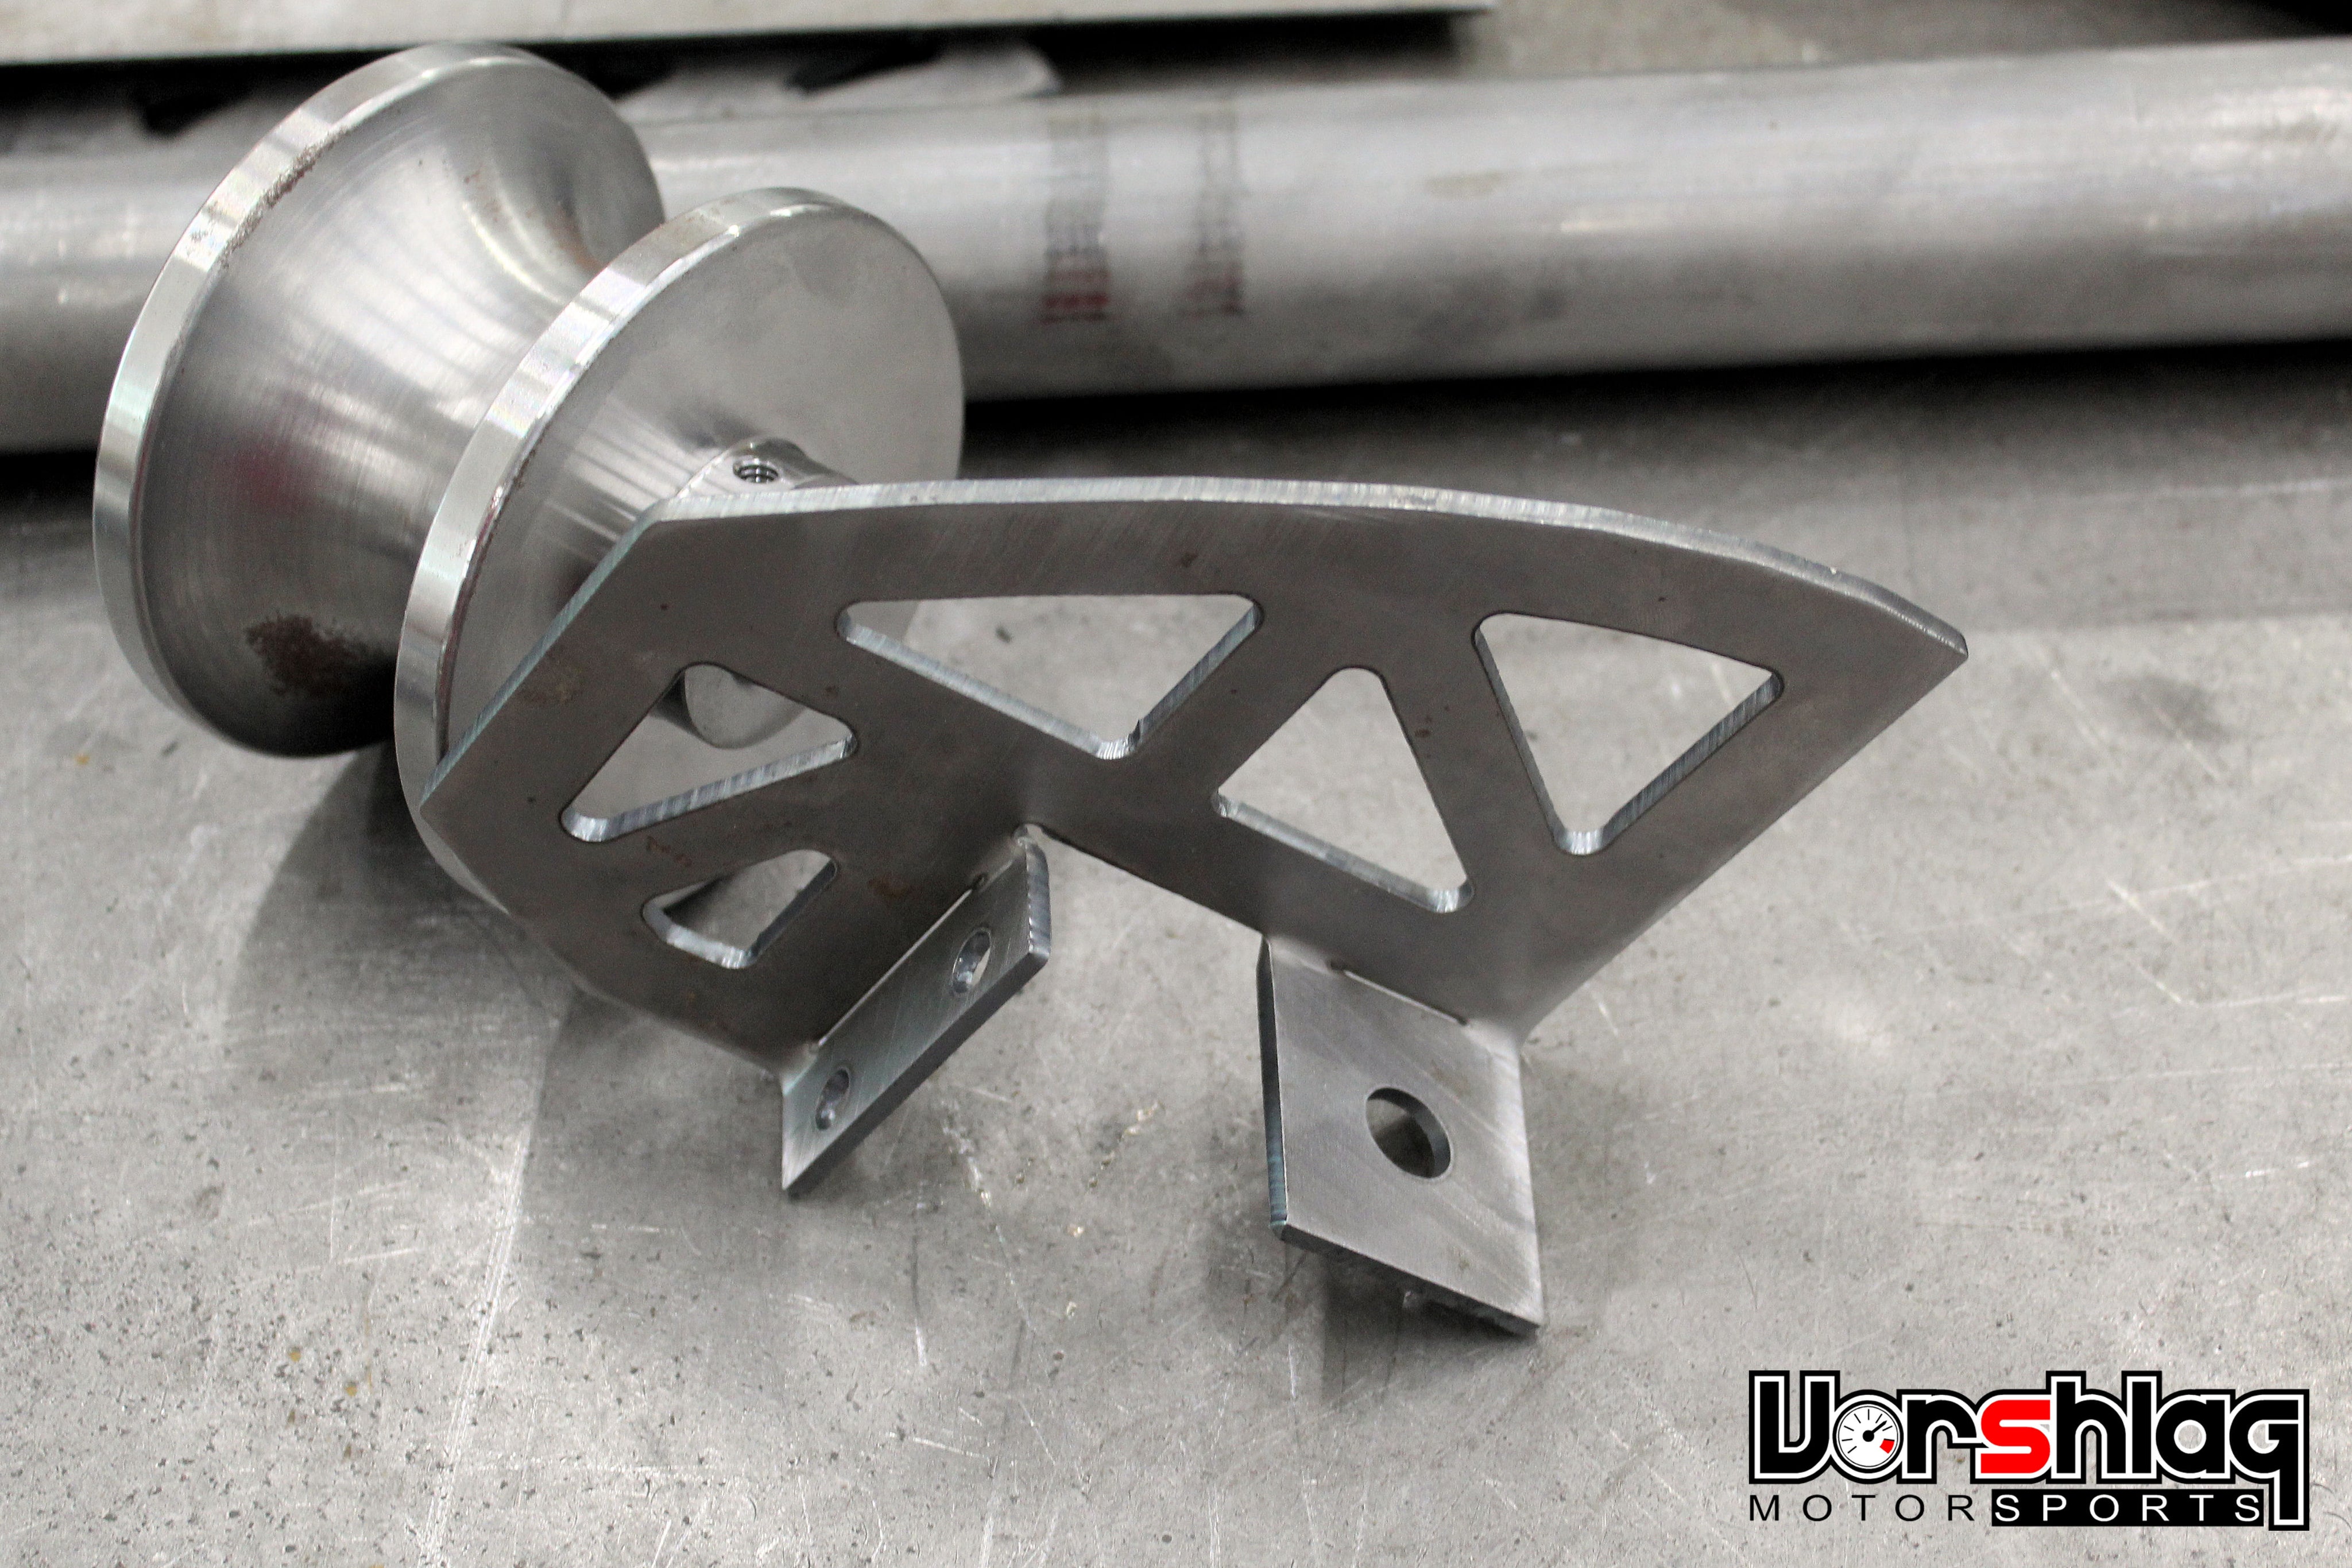
We've seen some E46 cars that sustained serious damage to the rear trunk floor and subframe mounting area. For those cars, a "little extra" reinforcement is not a bad idea. Which is why we created these trunk side "frame-to-floor" reinforcements. We make these 100% in-house and can almost always ship the same day you order - let us know if you are in a rush and we can make room on our CNC plasma table.

The first install was on a 2003 E46 M3 that had extensive cracking, and this is what the customer wanted. We have instructions below on how to install these - it takes cutting, welding, painting, and more. This is not for the novice mechanic - you need a fabricator to do this job right.

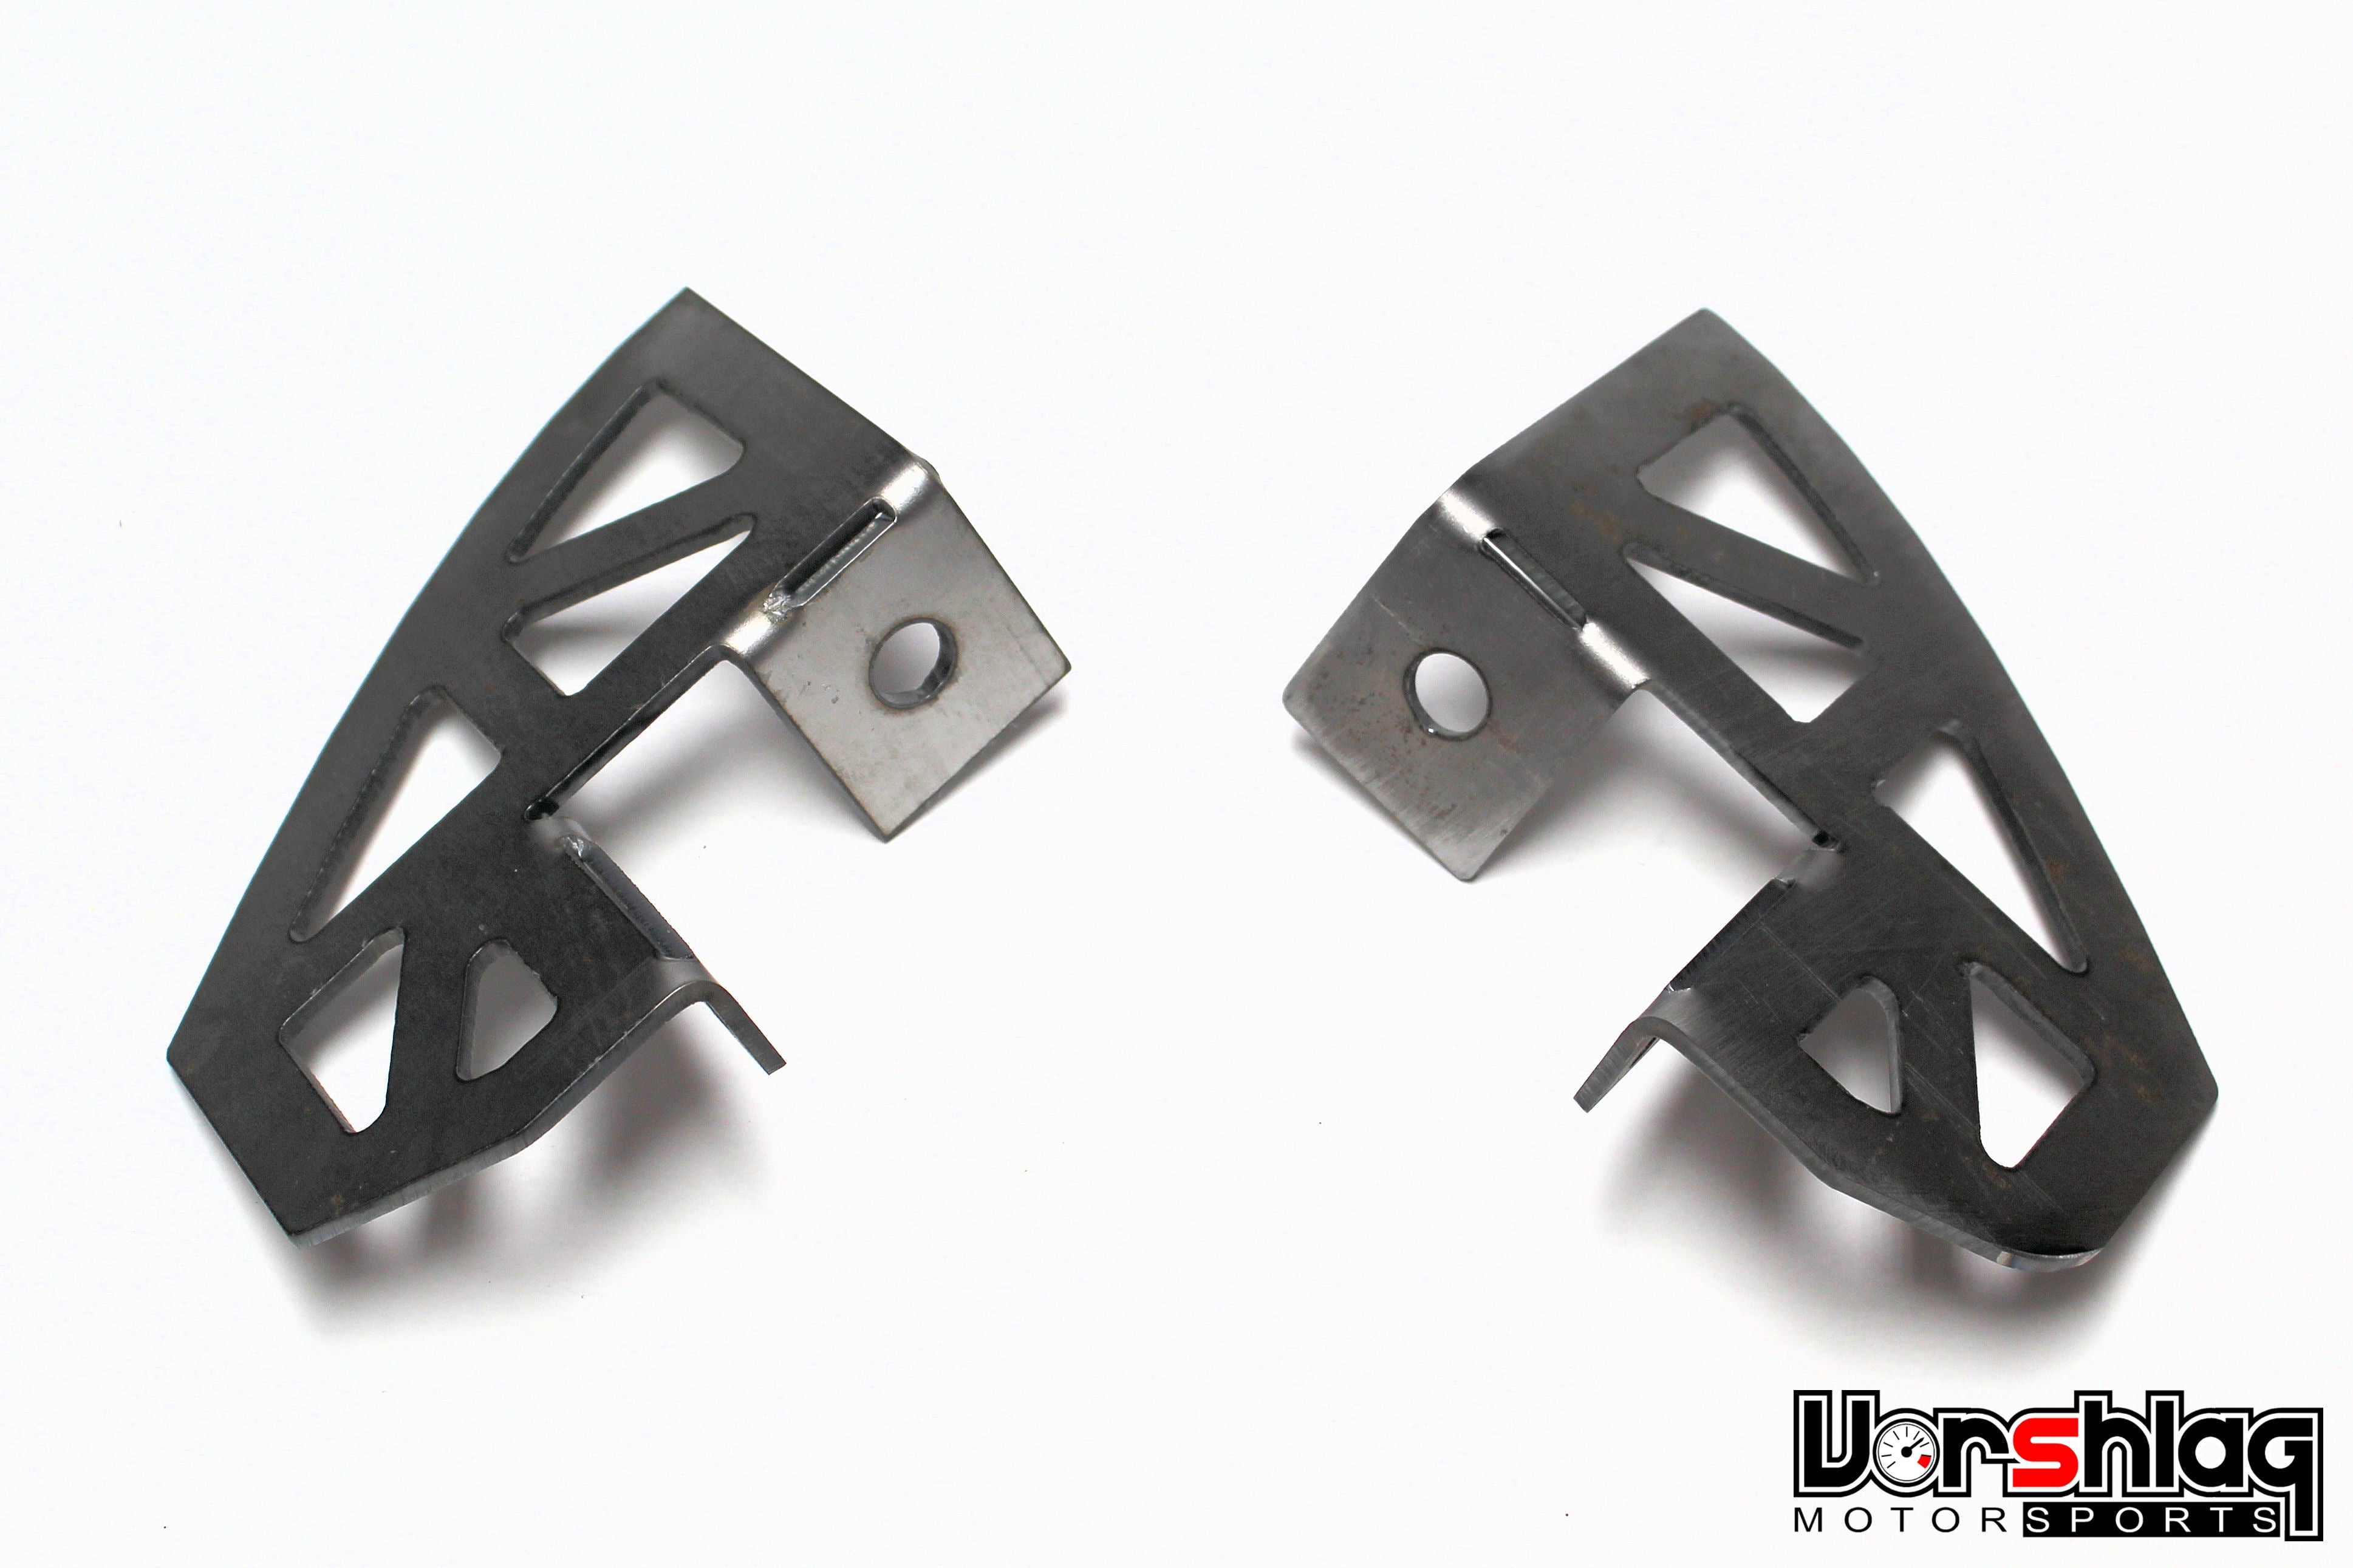
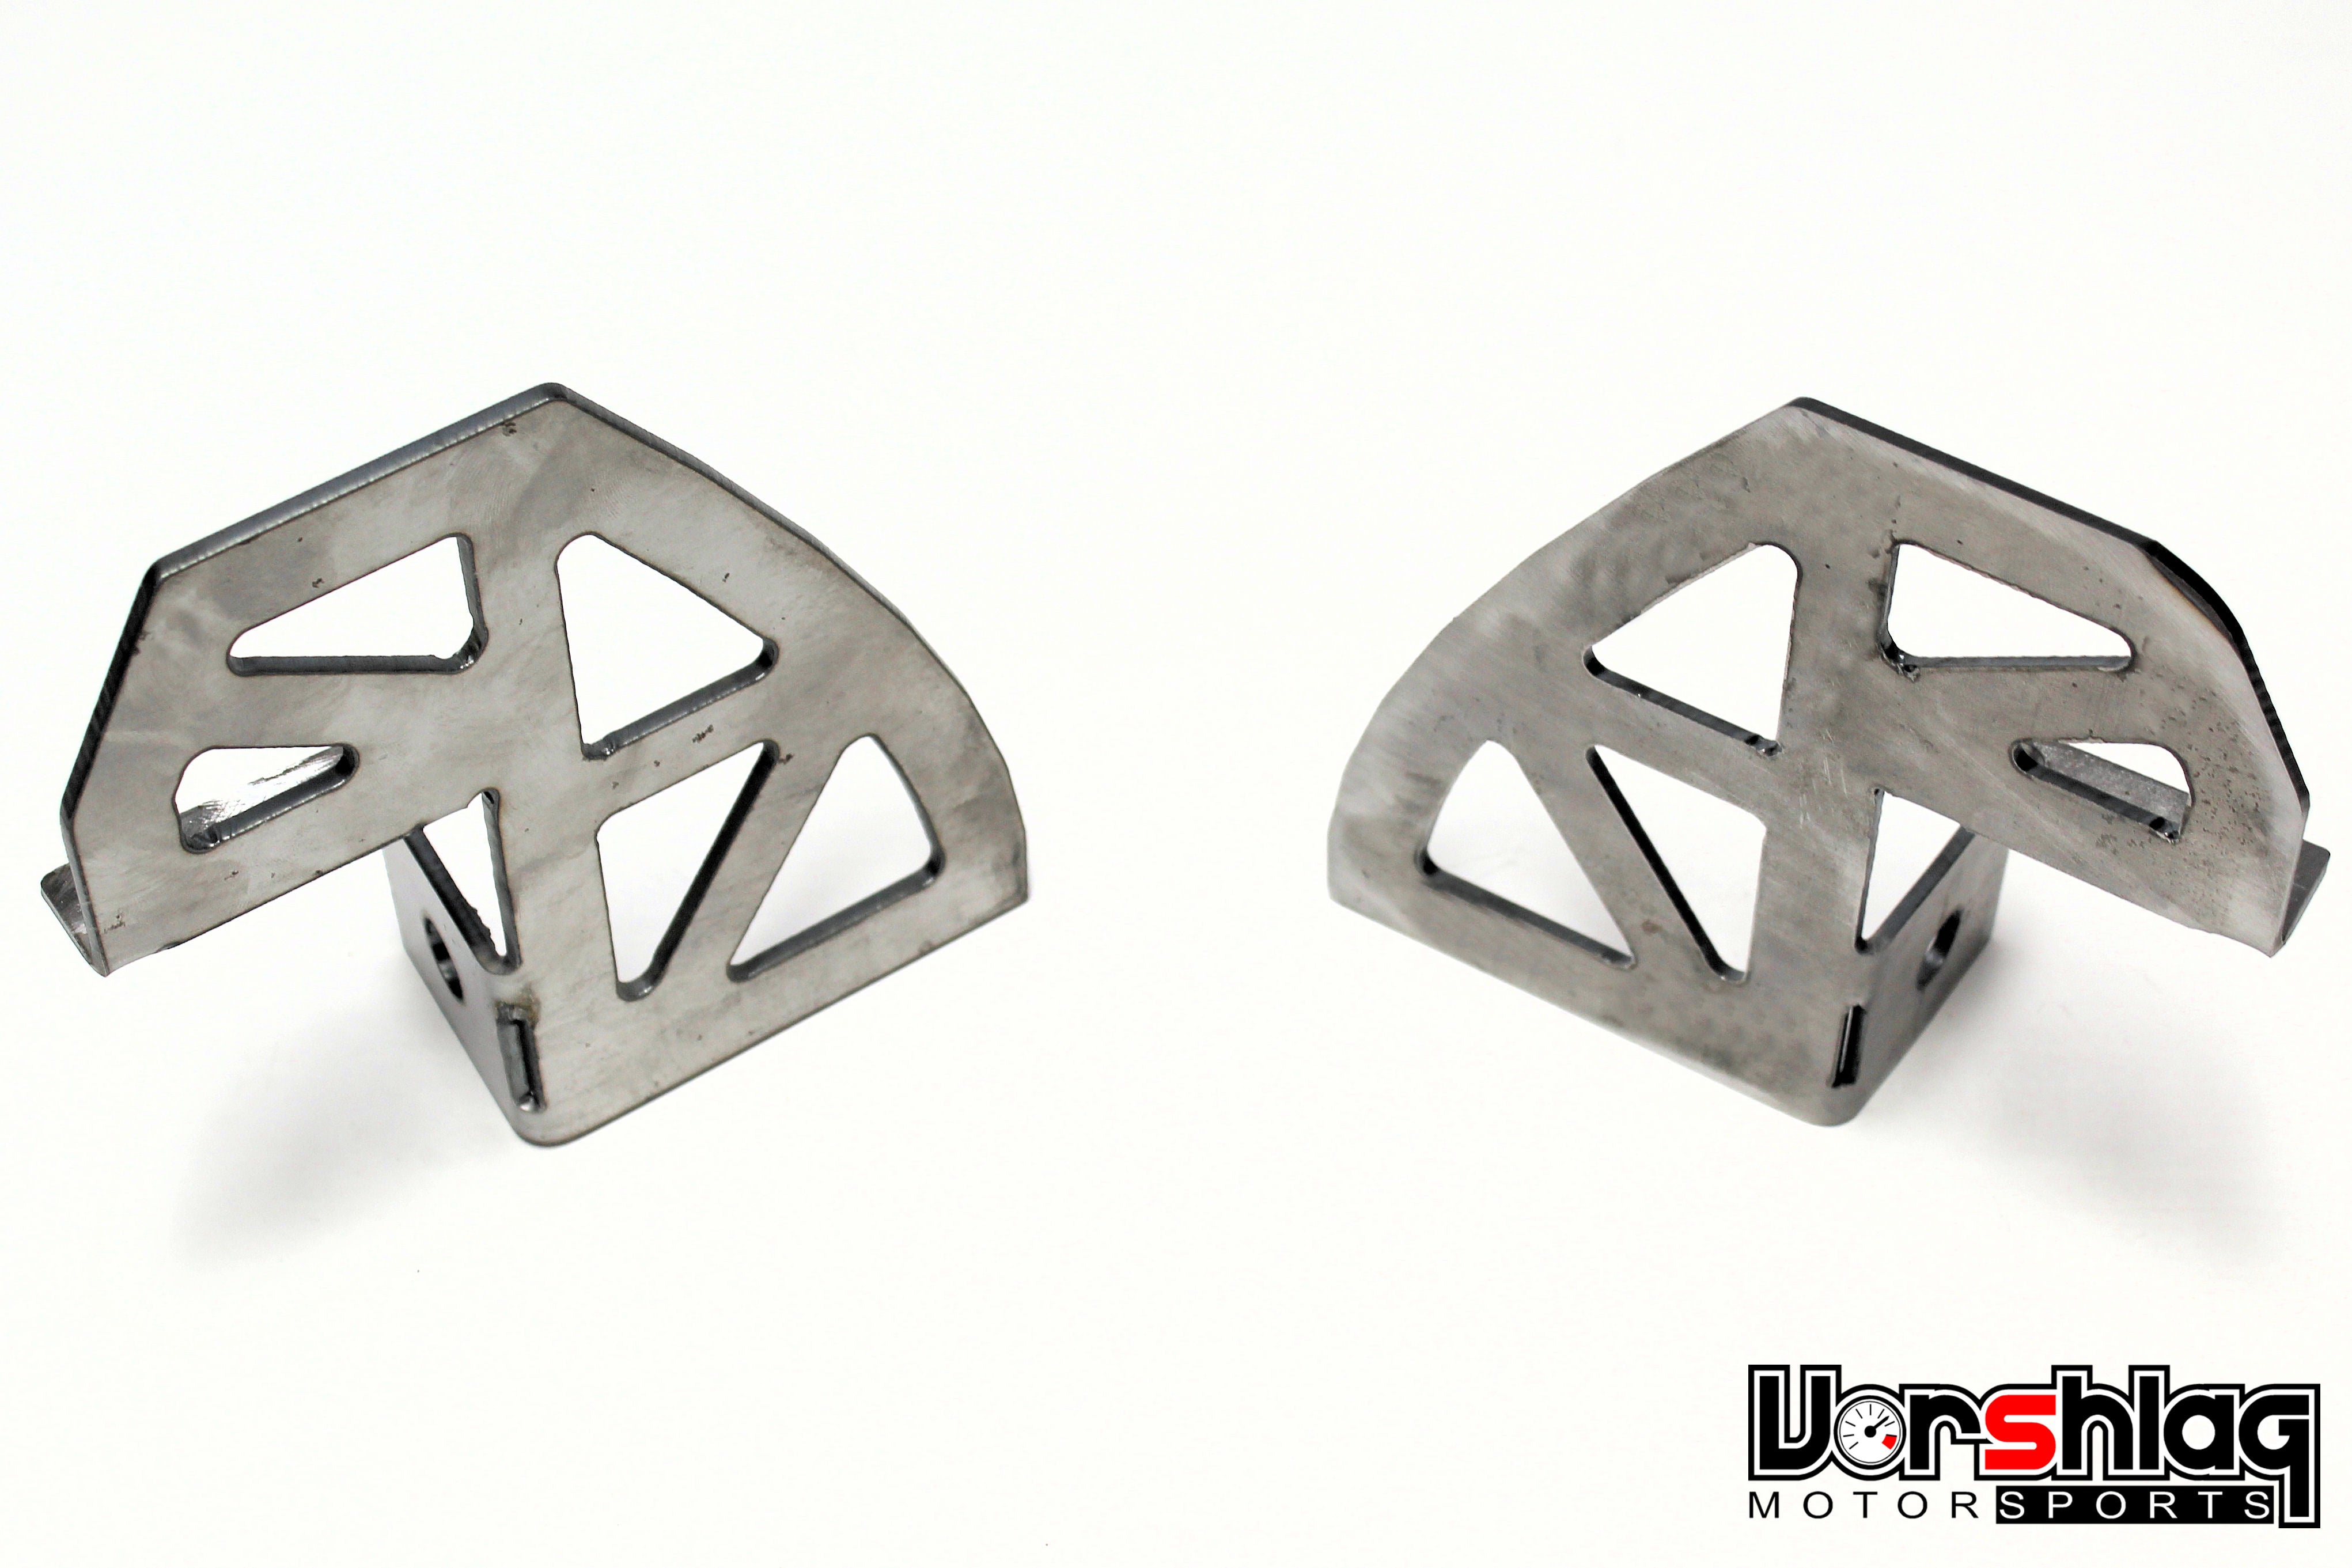
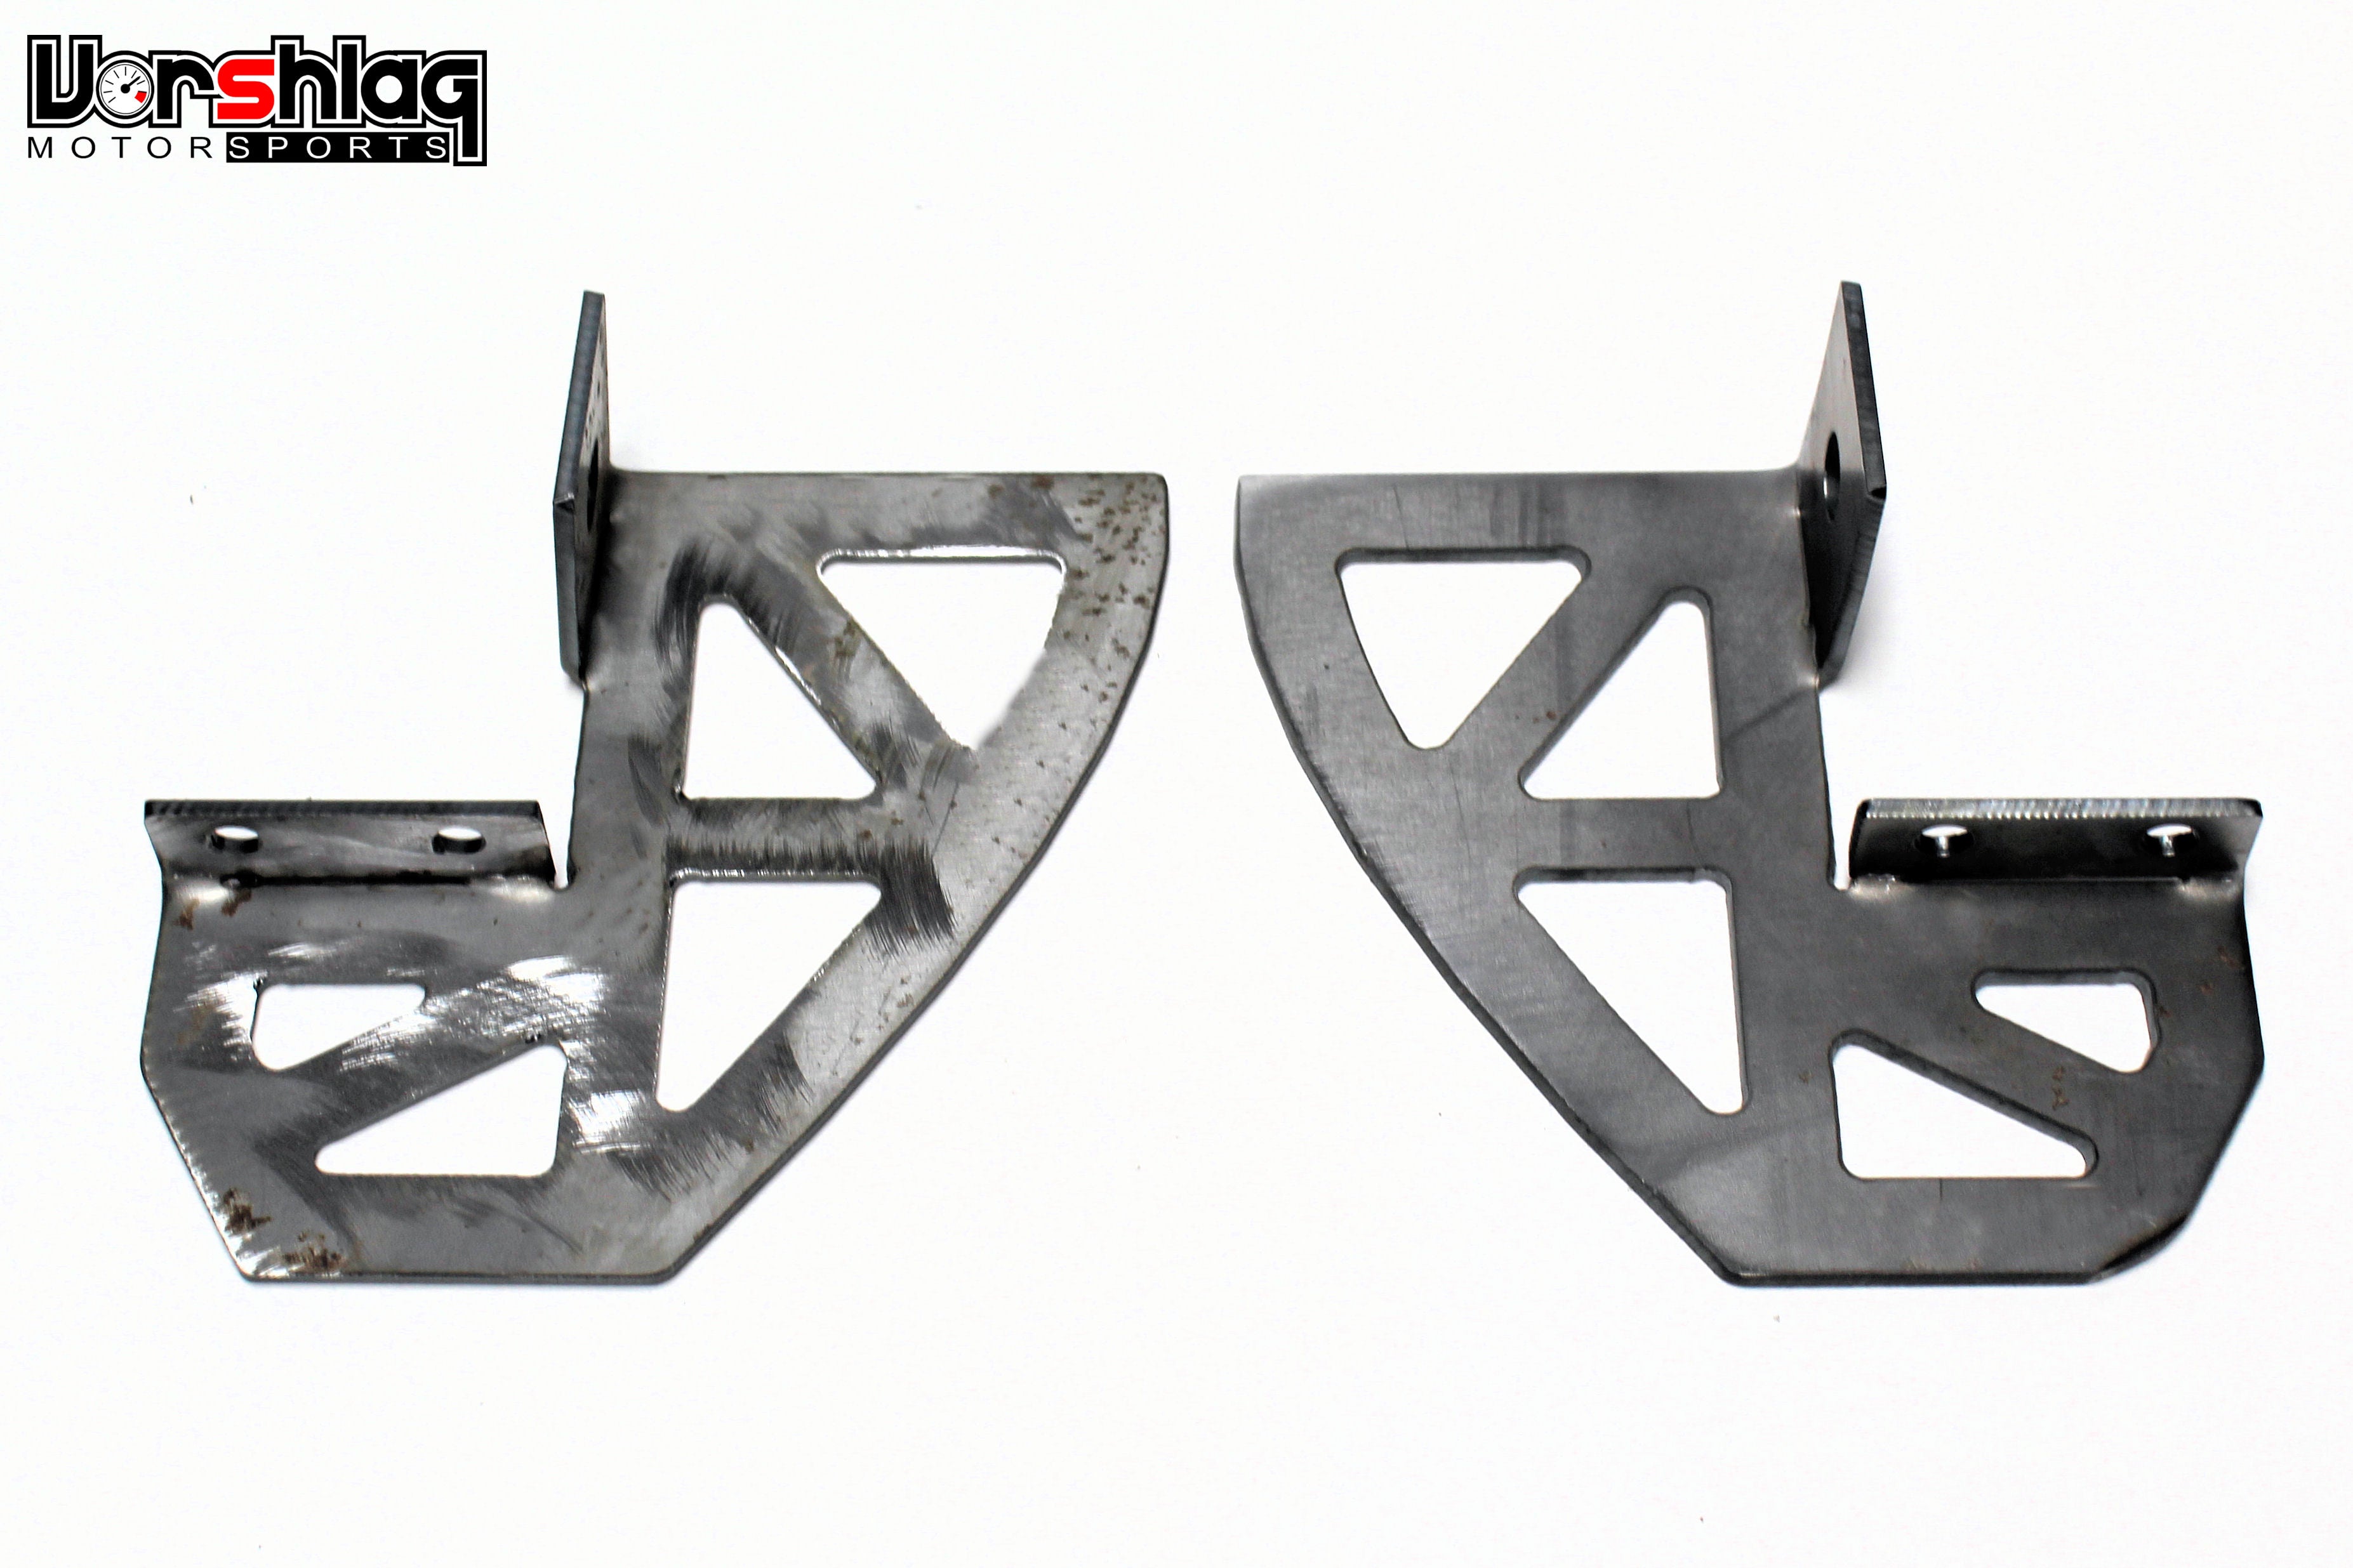
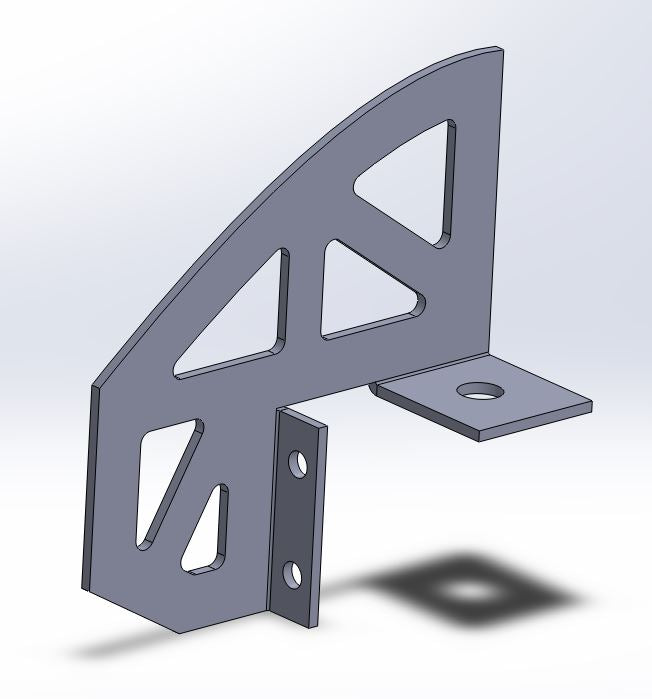
The two CNC cut and bent steel pieces included in this kit can be welded in place to reinforce the floor to the frame, as shown. This can be added to both E46 non-M and M3 models, but convertibles might be a problem.
- Removing a section of the upper trunk floor is required. You will need to prep the metal to weld these in place.
- Welding and some fitting is required
- Ideal for highly stressed race cars
- Prevents future damage
- Recommended for use with stiff subframe mount bushings
INSTRUCTIONS
This is not a job for the casual racer - this is for repairing damaged rear floorpans or more serious race car E46 BMW builds. AFTER you have reinforced the subframe mounting points properly, then cut out this big chunk of sheet metal, as shown.

After you have

Now it is time to align the Vorshlag reinforcements. There are left and right mirror imaged parts. It is pretty obvious where they go in these pictures.

Now it is time to weld... we recommend MIG welding in this area, as there is seam sealer that will ooze out of the sheet metal panels back here. Ventilate your area, as this will make some smoke. Cover ANYTHING flammable in the trunk with welding blankets, or remove those items.

After tack welding the reinforcements in place, skip around with the welds to keep from warping the panels underneath. The triangular holes in the side plates and round holes in the "floor" side bends are for rosette welds through to the metal underneath.

After the welding is complete, clean up any slag or mess, then clean the area with brake cleaner or similar. We like to cover any welds with 3M 08505 Seam Sealer, which you won't find at your local hardware store. Let the seam sealer dry for 8-24 hours. Then spray the area with weld-thru primer (if you are welding the panel you cut out back) or Zinc based Self-Etching Primer.